

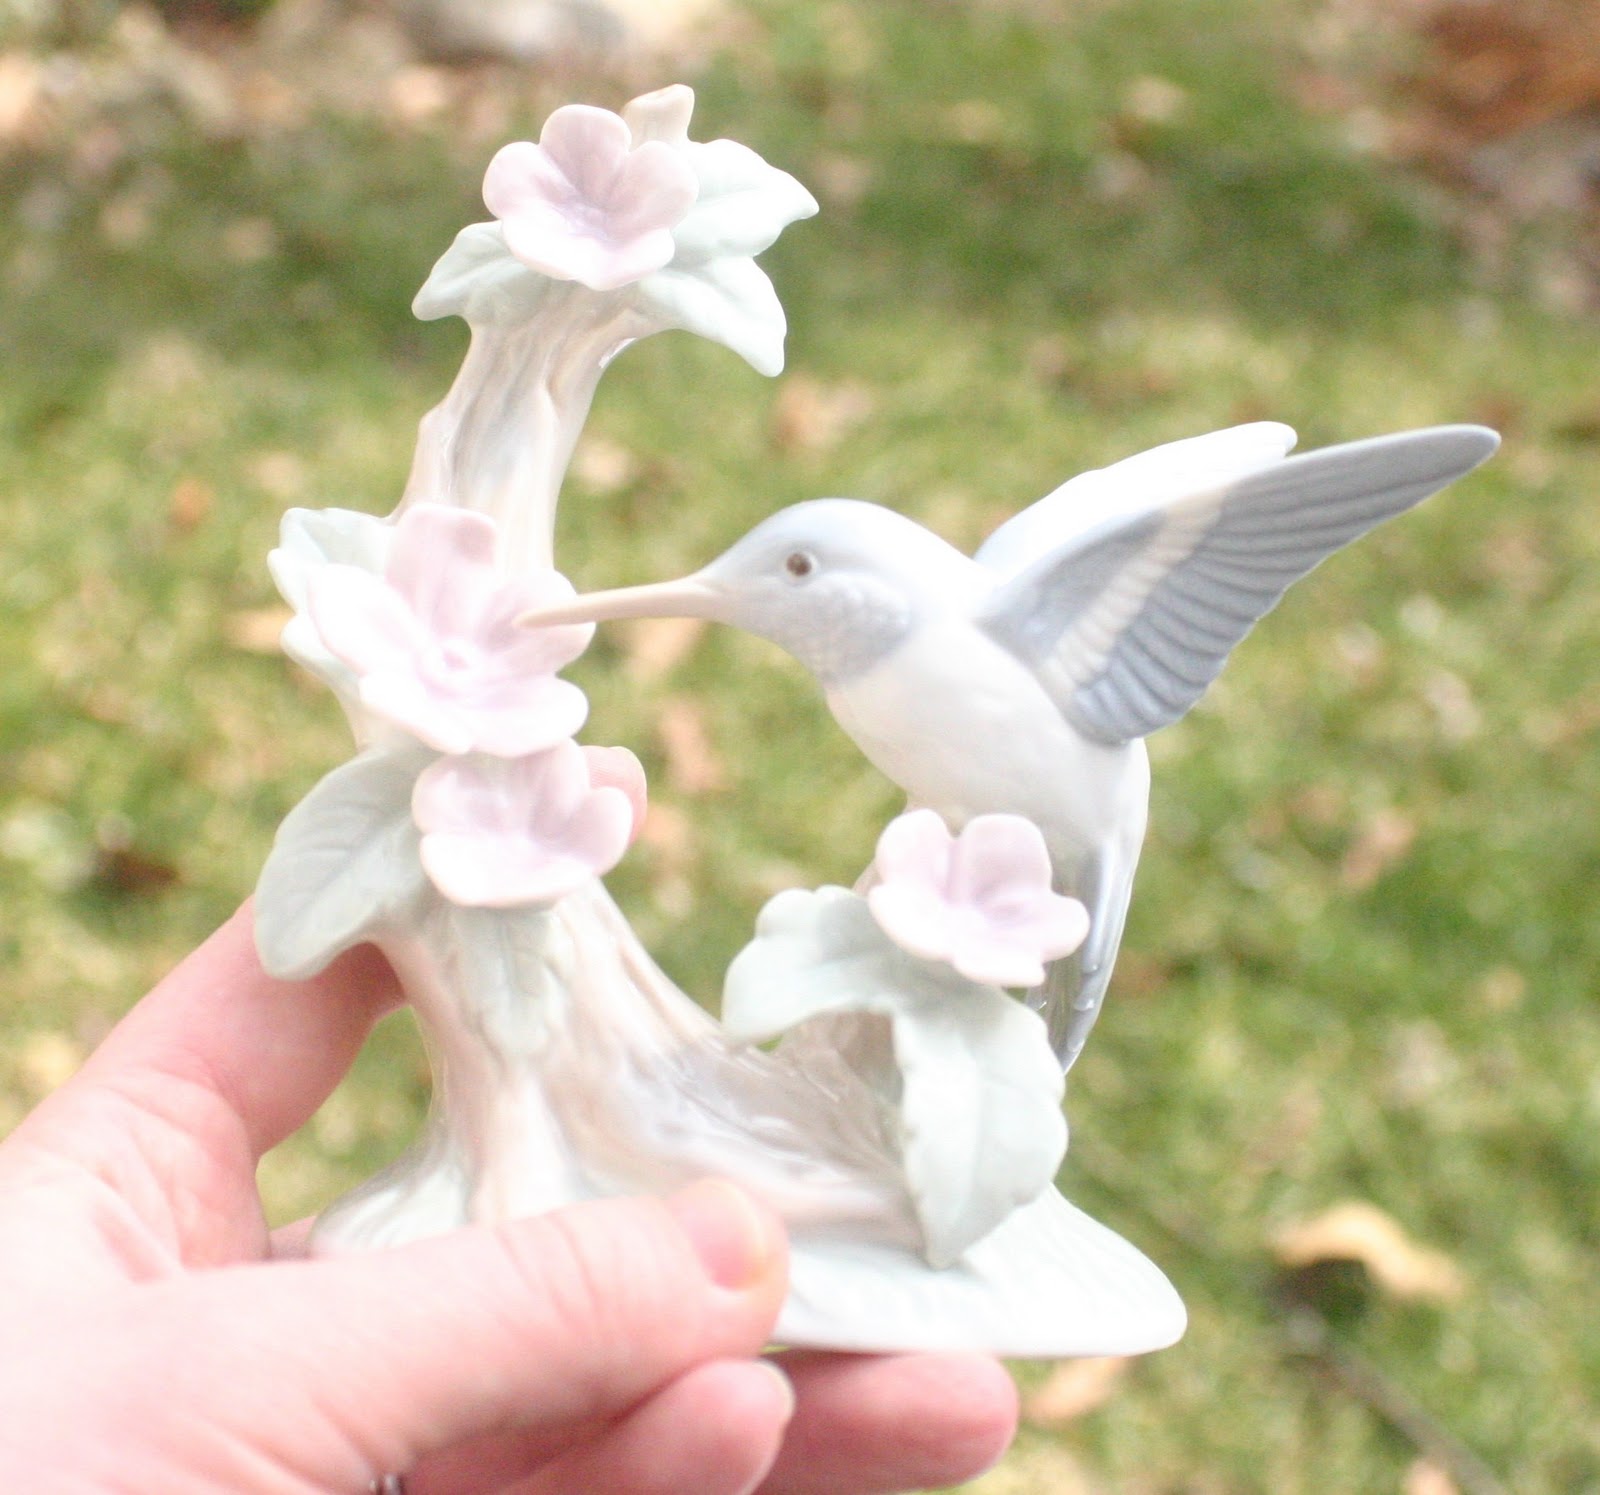
I loved the detail on this particular piece. The flowers on the branch were well shaped, and there were lots of non-painted details on the branch, wings, and even a molded eye on the bird. This would make a perfect piece for a spray paint project!
Spray paint has really gotten a bad rap over the years, and I think this is because people think it's going to be a quick fix. To get a really great spray job, you need to prep your piece and be patient! This project took several steps over the course of a sunny (and windy) afternoon.
Here's a short how-to on spray painting porcelain.
1. As I said before, pick a piece with some nice details. Everything will be in one color, so having a piece with molded eyes, wings, clothing, etc will add interest. When selecting a spray paint for this project, I would strongly suggest a metallic so it will look more like an original, instead of a painted piece. I used Rust-oleum Bright Coat Metallic Finish in Chrome.
 2. Prep your piece and your work area. You will definitely need to sand the figurine with a piece of small grit paper. I used a general purpose 150 grit paper. You don't want to scratch the surface of the porcelain, but you do want to rough up the paint finish a little,so that the paint will stick. Use a very light hand with the sandpaper.
  3. Spray painting isn't a one coat process! You'll want to do several light coats. Position your paint can about 10-12 inches from your piece. Depress the nozzle off to the side from your piece. If you start to spray directly on your figure your paint job will be runny and blotchy. Use moderately quick strokes back and forth, constantly depressing the nozzle. Don't worry about hitting all the spots on the figurine since you're going to do more than one coat! Notice in this picture taken after my first coat that you can still see the original paint job under the hummingbirds' wings and there is color peeking through on the branch and grass area. For different coats, I would move the piece around. For the second and third coats, I would lay the hummingbird face down or on its side so I could be sure to get paint in all of the crevices.
  4. WAIT. One of the biggest mistakes is to not let the previous coat completely dry before applying the next. I made myself go back inside and wash dishes or do other tasks while waiting for each coat to dry. Follow the directions on your paint can, but I waited about an hour between each coat. I ended up doing 3 coats and then a touch up.
 5. Speaking of touch ups, I had a little mishap where my figure fell over in the wind. When I finally picked it up, there were spots on the wings and side that had pulled off due to being wet and sitting on the paper. I simply sanded those spots (very gently) and resprayed.
6. Let the piece dry completely and then enjoy it!

This photo is the top of the dresser in the girls' room. I realize the painting is too short for this space, or should be hung higher. However, this piece (and a companion) will be hanging over the two cribs when we get the second one. I have plans for what to put over the dresser once that's done, but you'll have to wait and see!
There are a few projects left in this room on top of the second crib arriving in about 2 weeks. I hope to share a window covering project early next week.
What do you think? What spray painting projects have you had success with? Any funny failures we should all hear about?
.


2 comments:
I must say, I'm solidly in the 'hate spray paint' camp, but that's a really neat effect with the metallic spray paint. I wonder if I could find a ceramic dragon to paint...
Tara, I'm so happy you sent me the link to your blog :)...I am a big fan of spray paint. I have lot's of projects on my blog using spray paint!
Your home is beautiful and I look forward to following your progress!
Post a Comment
Thanks for taking the time to leave a comment! I'm excited to hear your suggestions, thoughts, and questions.